
A great thrift find can lose a sale in two seconds if the photo is dark, blurry, or confusing. That is why learning how to photograph resale items matters so much. Buyers cannot pick up the purse, turn over the mug, or inspect the hemline themselves, so your photos have to do that work for them.
The good news is you do not need a fancy studio setup to make your listings look polished. You need good light, a clean background, a steady hand, and a clear plan for what the buyer needs to see. When you get those pieces right, your items look more trustworthy, more valuable, and much more click-worthy across platforms like Etsy, eBay, Poshmark, and Depop.
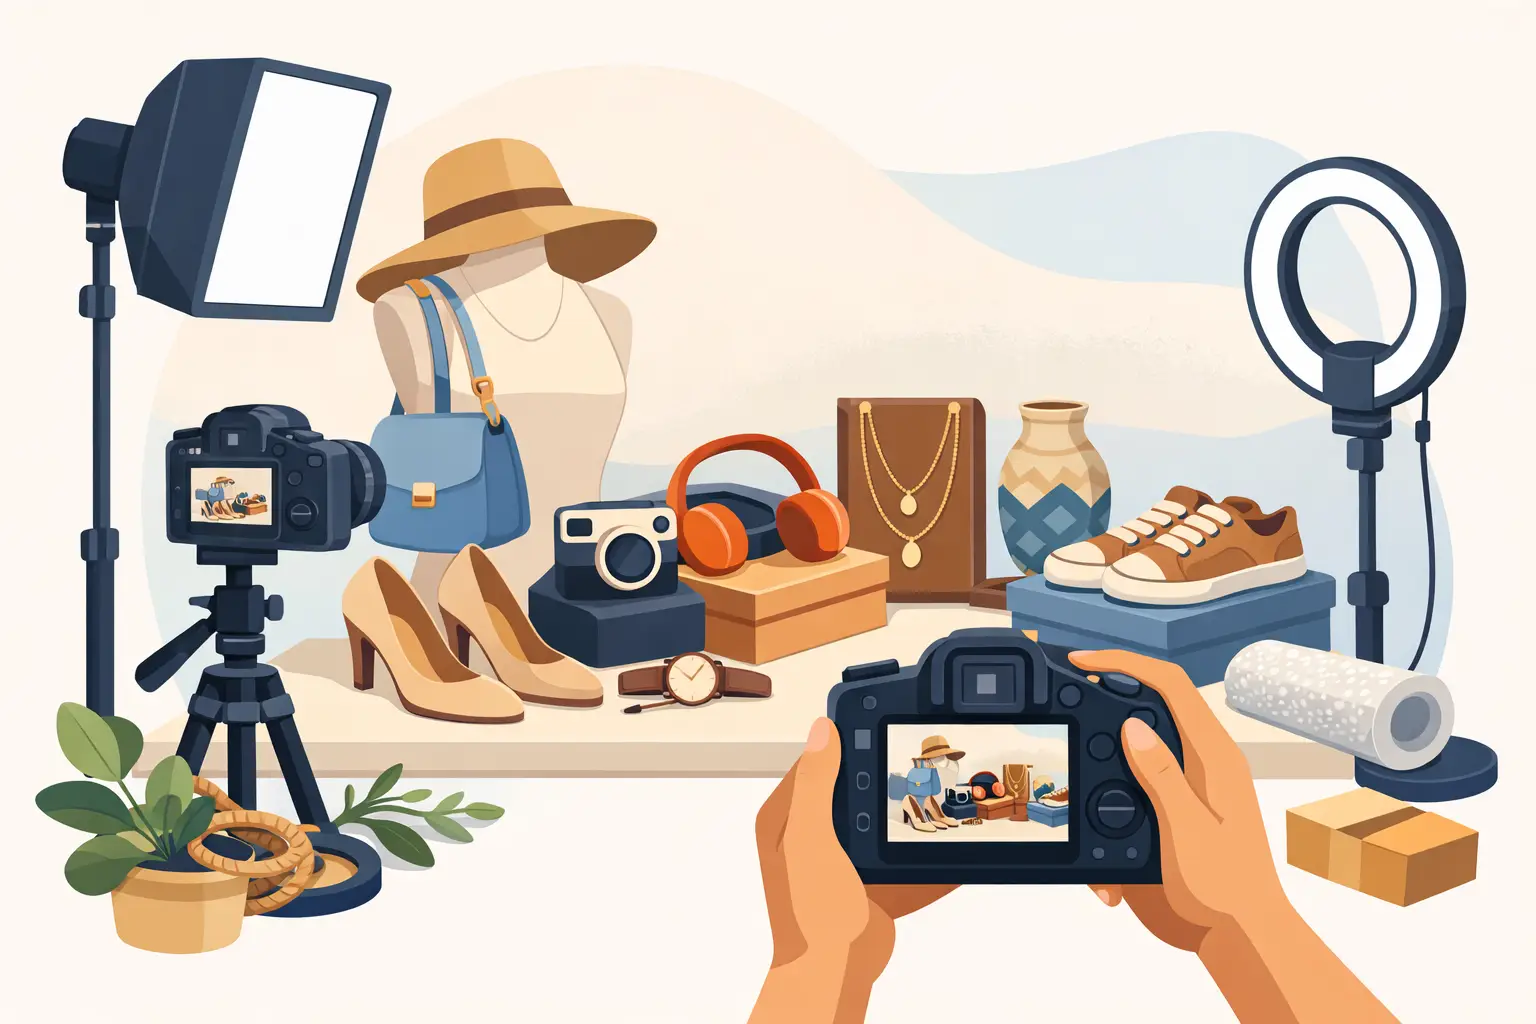
How to photograph resale items with a simple setup
Most sellers do better with a repeatable setup than an elaborate one. If every listing takes forever to shoot, it becomes harder to stay consistent. A simple system saves time and gives your shop a cleaner look overall.
Start with natural light if you can. A spot near a window usually gives the softest, most accurate color, especially for clothing, jewelry, handbags, and home decor. Morning or late afternoon light often looks better than harsh midday sun. If the light is too direct, hang a sheer curtain or use a thin white sheet to soften it.
Your background should make the item stand out, not compete with it. For most resale items, white, cream, light gray, or a clean wood tone works well. A foam board, poster board, sheet, or plain wall can do the job. If you sell a lot of fashion pieces, a consistent try-on area or mannequin setup can also work, as long as the background stays tidy.
Phone cameras are more than enough for most listings. The difference usually comes down to lighting and stability, not the price of the camera. Wipe the lens before every session. It sounds small, but that one habit can sharpen your images instantly.
What buyers need to see in resale photos
A pretty photo is helpful, but a useful photo sells better. Resale buyers want confidence. They want to know condition, scale, color, texture, and any flaws before they spend their money.
That means your first image should be bright, clear, and easy to understand at a glance. The item should be centered and fully visible. If someone has to guess what they are looking at, they may keep scrolling.
After the cover photo, show the item the way a careful buyer would inspect it in person. Photograph the front, back, sides, bottom, inside, tags, labels, hardware, texture, and any wear. For shoes, show soles and toe shape. For handbags, show the lining, corners, straps, and closure. For clothing, show the neckline, sleeves, hem, brand tag, size tag, fabric tag, and any standout details.
Condition shots matter even when the flaw feels minor. A tiny scuff, loose thread, faint stain, or glaze crack should be shown clearly. This does not ruin the sale. In many cases, it builds trust. Buyers are much more forgiving of honest wear than surprise wear.
Best angles for different types of inventory
How to photograph resale items depends a little on what you sell. A ceramic vase and a pair of jeans need different treatment, even if the same basic setup is working behind the scenes.
For clothing, flat lays are quick and easy, but hanging shots often show drape better. Modeled photos can help with fit and styling, especially on platforms where personality sells, but they are not always necessary. If the item has structure, like jackets or dresses, a mannequin can make it look more polished. If the piece is soft and casual, a flat lay may feel more natural.
For handbags and shoes, shape is everything. Stuff bags with tissue paper so they do not slump. Photograph shoes side by side, then separately from the side, back, top, and sole. Buyers want to see tread wear and toe condition, so do not skip those close-ups.
For jewelry, use the brightest indirect light you can get and keep the background simple. Tiny pieces are harder to focus on, so tap the screen to focus carefully and take more shots than you think you need. If metal or stones are reflecting too much light, shift the angle slightly instead of moving the whole setup.
For glassware, pottery, collectibles, and decor, shoot from straight on and from a slight angle. Include the bottom if there is a maker’s mark or sticker. If the item is reflective, you may need to move yourself and the camera until your reflection disappears or becomes less distracting.
Styling without hiding the truth
Styling can help your listing feel more appealing, but resale photography works best when it stays honest. Think clean and intentional, not overly staged.
A necklace can be photographed on a bust or laid flat with a simple prop. A mug can sit on a shelf with a neutral backdrop. A vintage blouse might look better steamed and hung neatly than spread wrinkled across the floor. Small touches make a difference.
Still, there is a line. Props should support the item, not confuse the buyer about what is included. If you style a handbag with a scarf or photograph a tray with extra decor pieces, make sure the main product remains obvious. Marketplace buyers move fast, and anything unclear can lead to questions, low confidence, or returns.
Common mistakes when learning how to photograph resale items
The biggest mistake is poor lighting. Yellow indoor light can distort color and make white items look dingy. Deep shadows can hide details. Overexposed photos can erase texture and flaws. If your color looks off, step back and adjust the light before you start editing.
The second mistake is inconsistency. If one image is bright, the next is dark, and the next has a totally different background, the listing feels less polished. A consistent look makes your shop feel more trustworthy and more shoppable.
Another common issue is photographing items from too far away. Buyers do want the full item in frame, but they also need detail shots. If every photo is taken from across the room, they cannot inspect anything. Mix your wide shots with close-ups.
And then there is clutter. A busy room, wrinkled backdrop, random cords, or distracting decor can make even a great item look cheap. Before you shoot, look at the entire frame, not just the product.
Editing photos without overdoing it
Editing should improve accuracy, not create a fantasy version of the item. Brighten the image if needed, straighten the frame, crop out extra space, and adjust warmth if the color is off. That is usually enough.
Be careful with filters. They may look nice on social media, but for resale listings they often shift the true color and texture. That can lead to disappointed buyers. If a cream sweater suddenly looks pure white or a blush bag starts reading peach, your edit is doing too much.
Try to keep your editing style similar across listings. That consistency helps your brand look intentional, whether you are selling handmade jewelry, vintage fashion, or thrifted home pieces.
A faster photo workflow for busy resellers
If you are listing often, batching is your best friend. Shoot similar items together while the light is good. Photograph all handbags in one session, all tops in another, or all small hard goods at once. This saves setup time and keeps your images consistent.
It also helps to create a photo checklist by category. For example, clothing might need front, back, tag, fabric content, close-up detail, and flaw shot. Shoes might need top, side, back, sole, insole, and size tag. You do not need to overcomplicate it, but a repeatable system helps you move faster and miss less.
The more you practice, the more you will notice what gets clicks and what gets questions. If buyers keep asking about scale, include a better size reference. If your dark items are not showing up well, switch backgrounds or add more light. Your photo style should evolve with your inventory.
Great resale photography is not about making secondhand items look brand new. It is about showing them clearly, honestly, and attractively so the right buyer can say yes with confidence. Start simple, keep it consistent, and let each item tell the truth in its best light.
Leave a Reply